

Kitchen Redo
Our 1960’s kitchen get’s a face lift!
Ok, it’s time for the big kitchen reveal. Below are a few pictures to wet your whistle of what our kitchen looked like when we bought the house. Painted cabinets, plastic laminate countertops and backsplash, lovely wallpaper, and white floors that were impossible to keep clean. Let’s not forget the popcorn ceilings and beautiful chandelier.
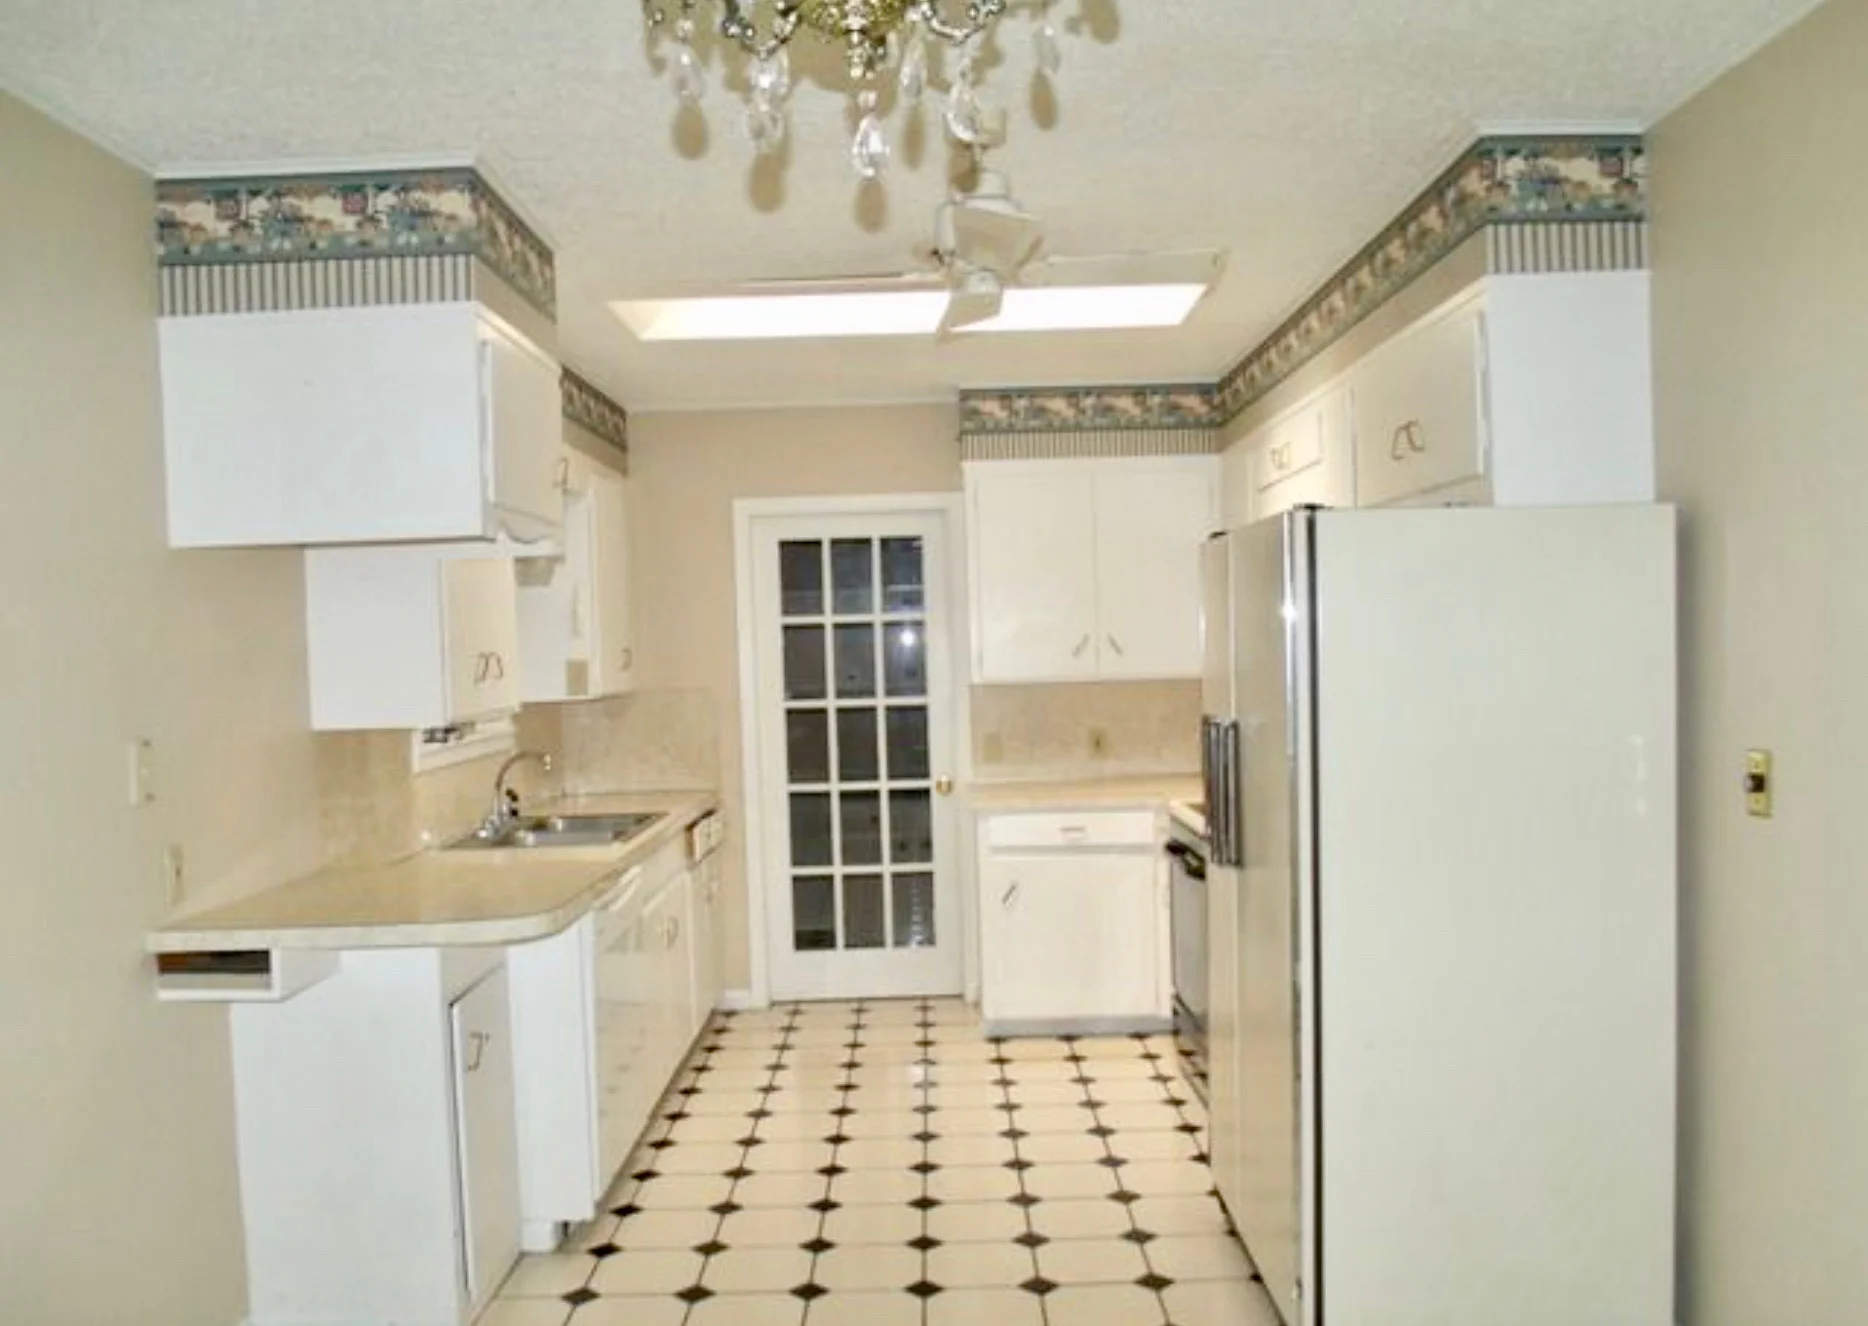
Kitchen when we bought the house.
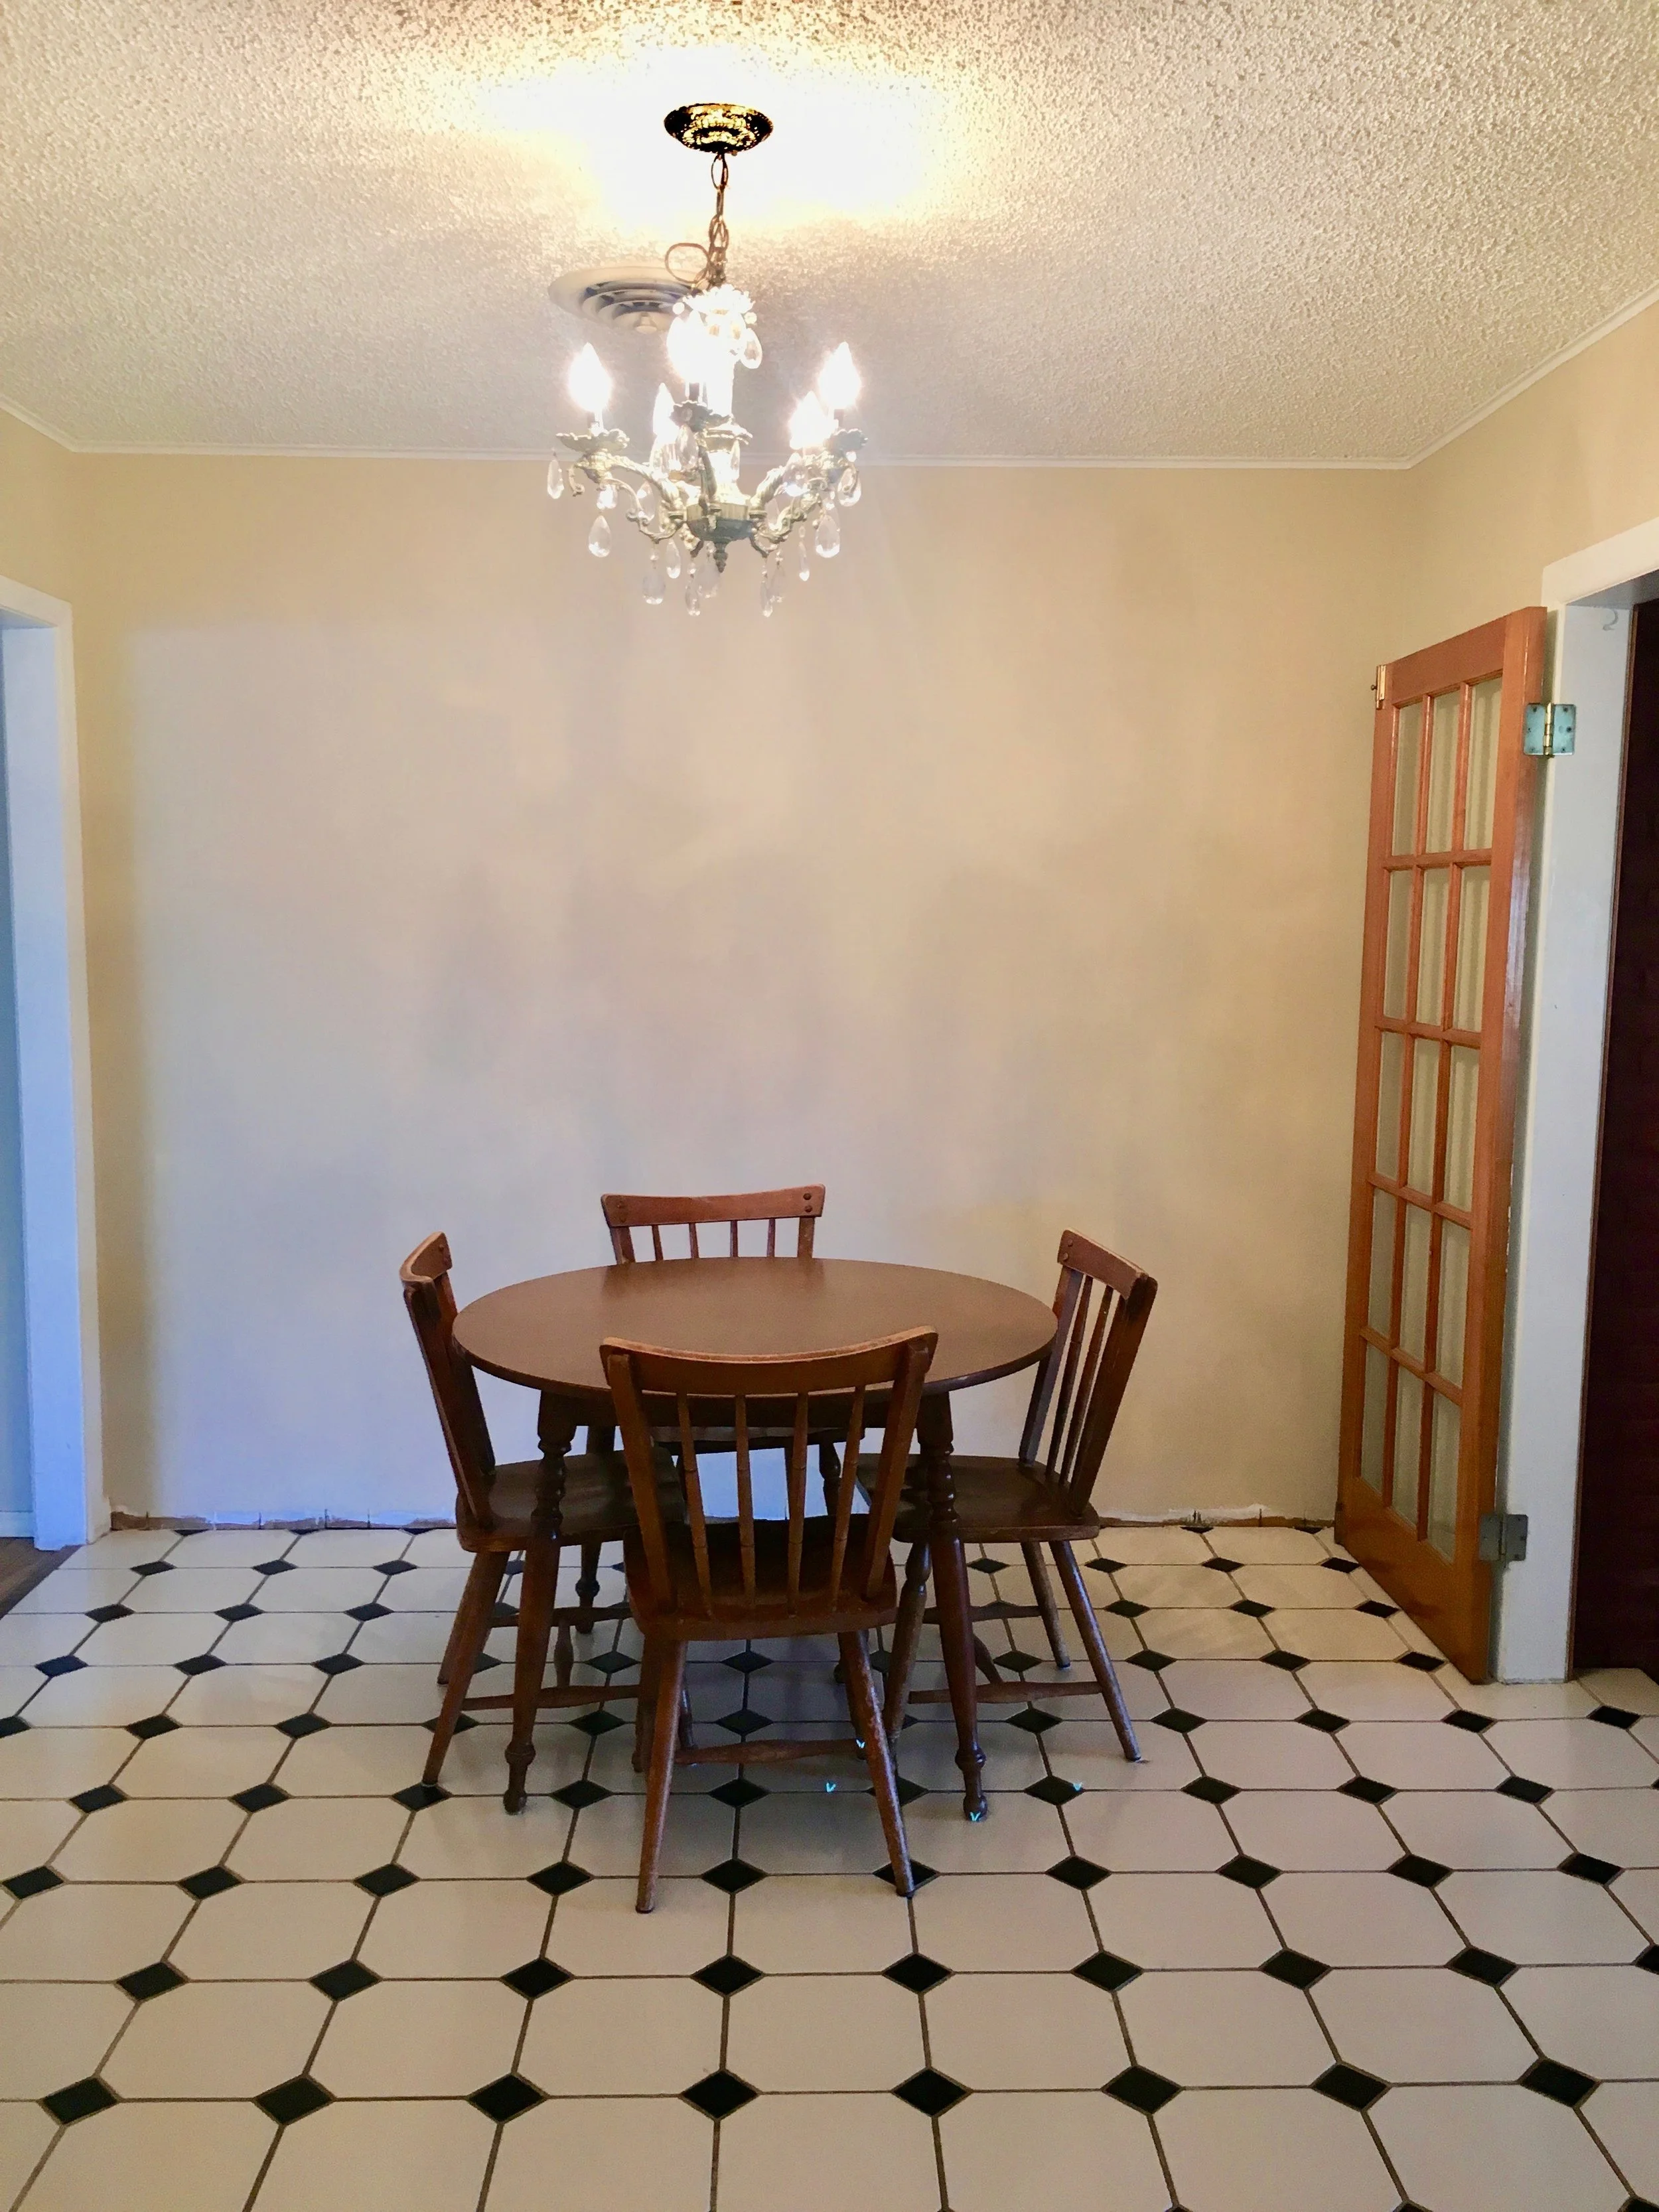
This next picture is what will eventually become our kitchen nook. It’s hard to believe that this picture is actually an improvement from when we bought the house. The back wall had striped wall paper that was nauseating to look at. We removed it immediatly after moving in so we would not feel dizzy while eating.
On the other side of this back wall, were two closets that were accessible to the master bedroom. We already had a walk-in closet and didn’t feel the need for the extra storage space, so we pushed that wall back two feet to utilize the space for our future kitchen nook.
This was a fresh start situation. We had to remove two layers of wood paneling from all the walls in the kitchen. The flooring and subfloor came up and cabinets out. The only thing that stayed was the ceiling, with exception to the popcorn texture.

What will become our kitchen nook. You can see in this picture the two closets we utilized in the kitchen.

It was such a mess!
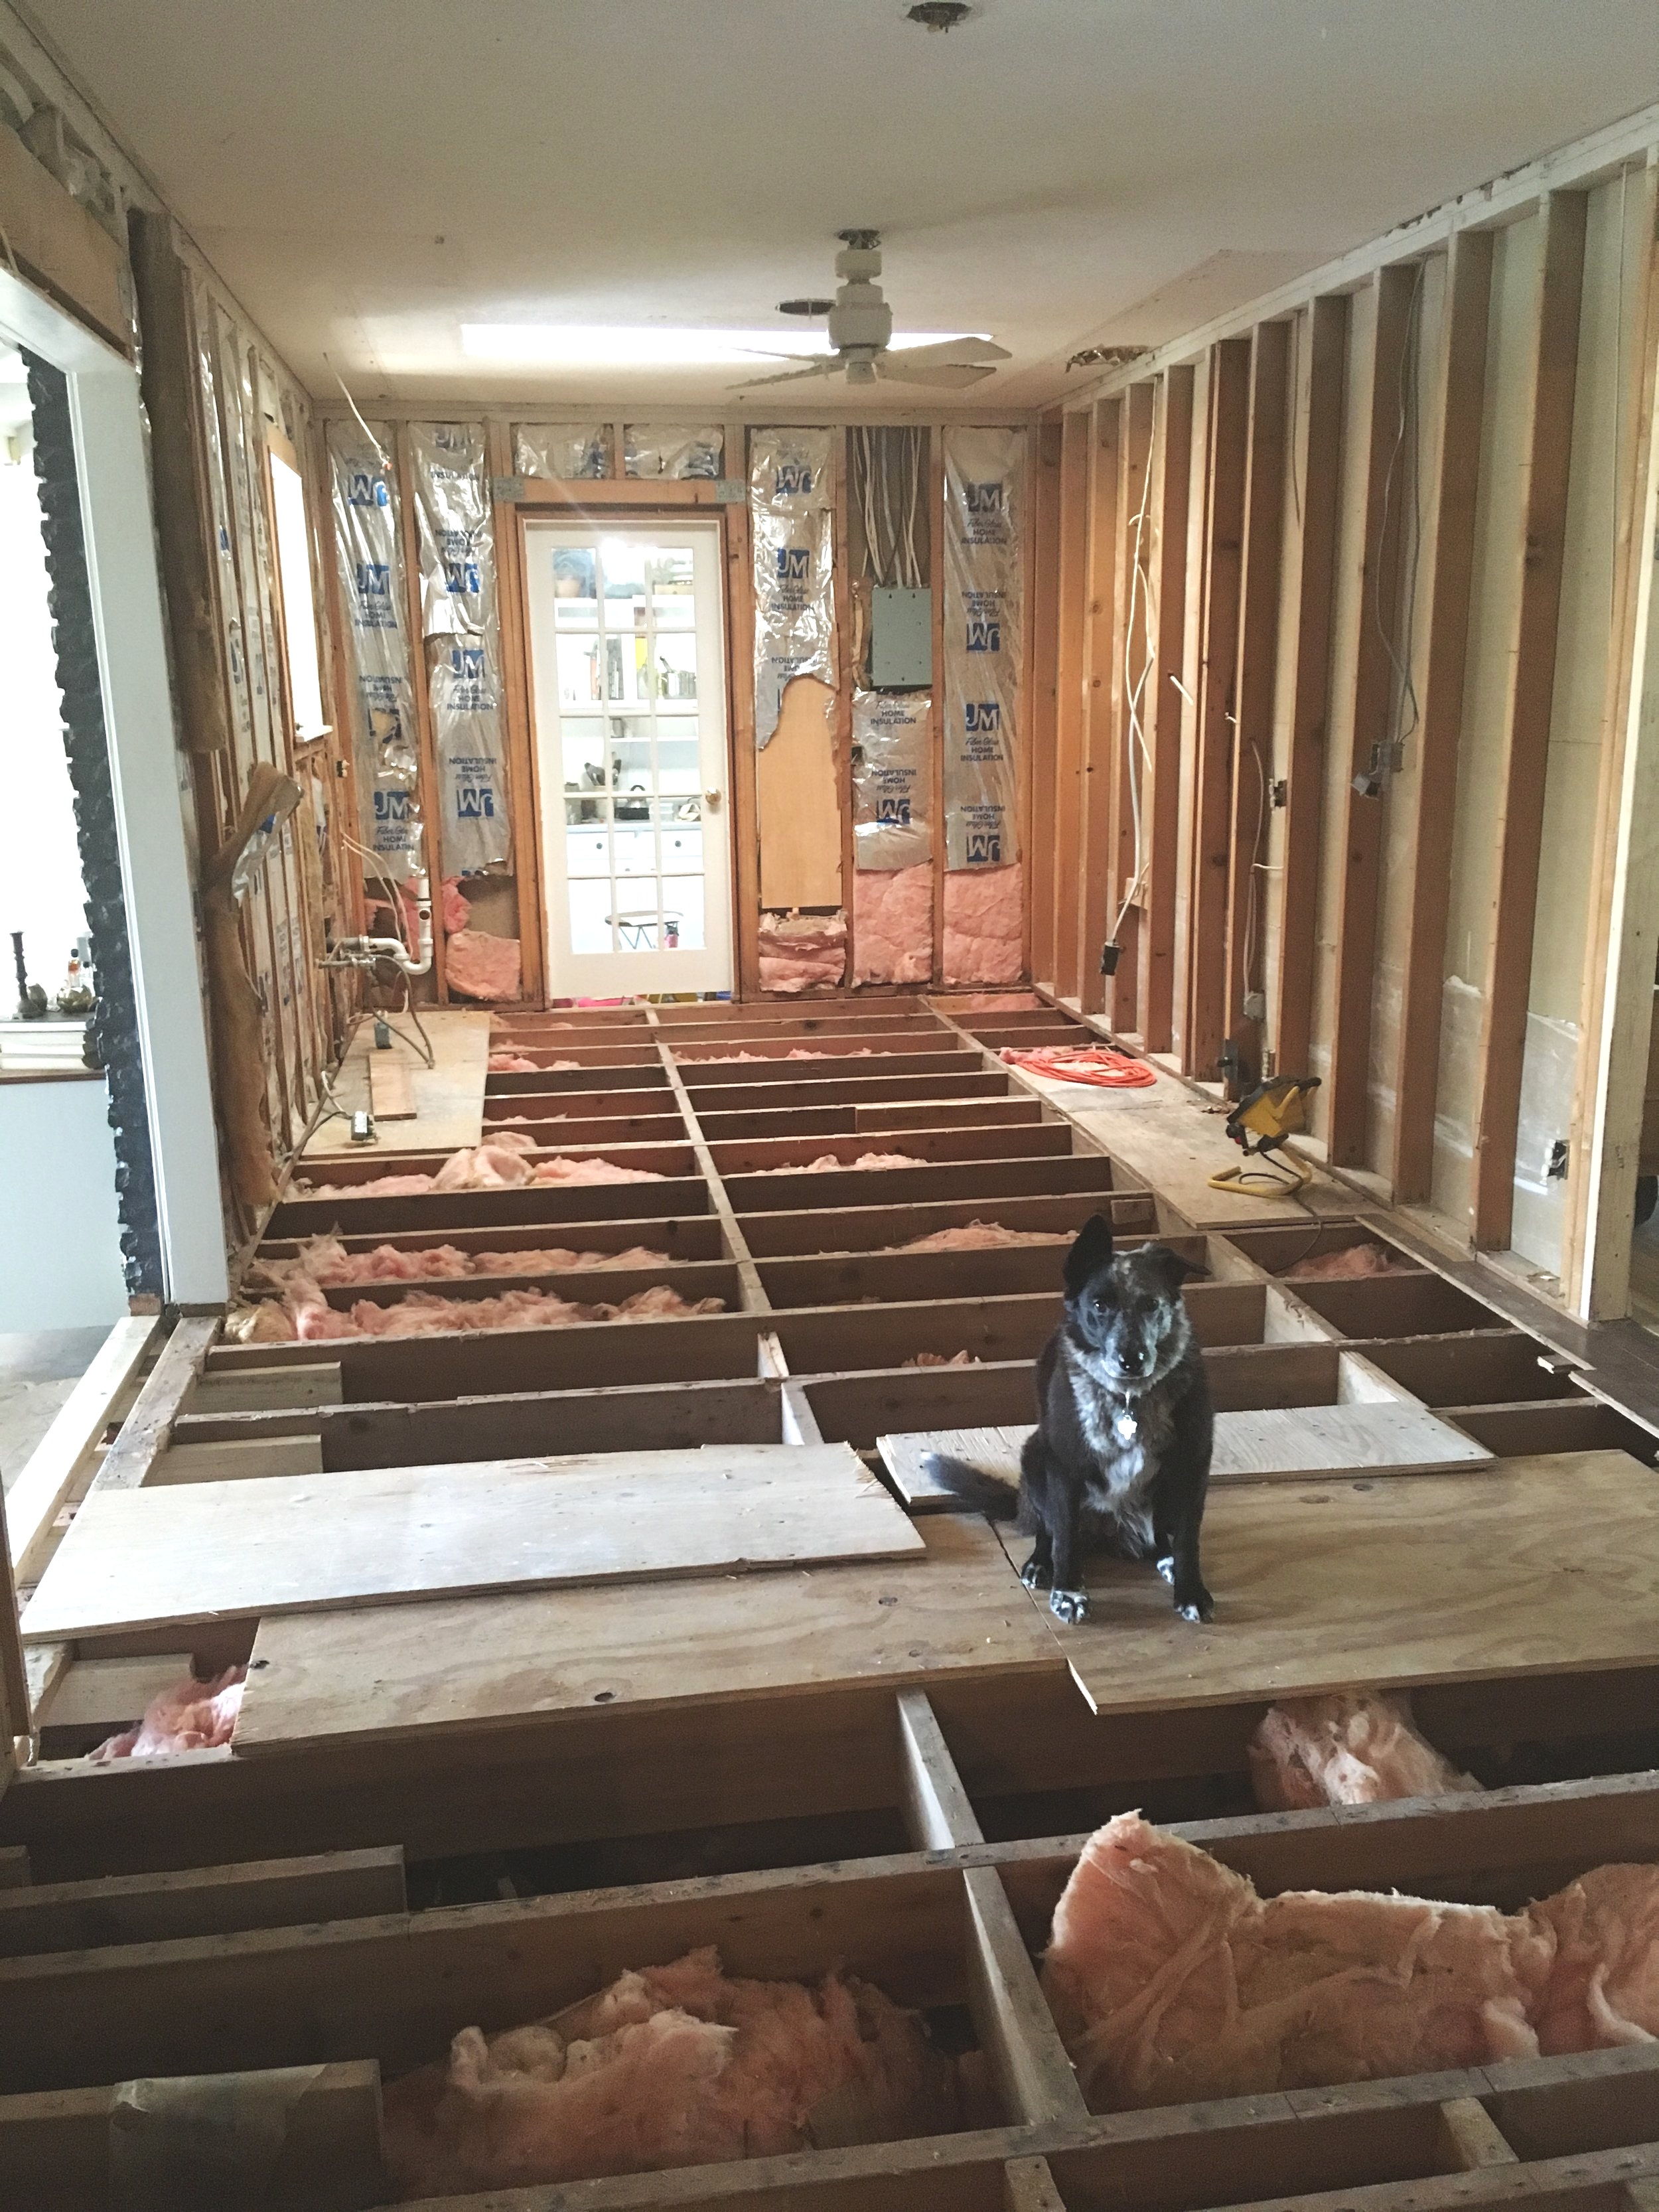
Subfloor had to come up so that our new floors would be level with the old floors.

Starting to make some progress. Cabinets are going in.

The nook is coming together!
And now to the finished product! We have hardwood floors throughout the majority of the house, so bringing that into the kitchen was seamless. To contrast the floors, we decided on black cabinets with brass accents. For the sink wall we wanted the durability of a quartz countertop but the look of concrete, so we utilized one of Caesarstone’s concrete looks. We didn’t want the kitchen to appear too cold, so we warmed up the walls with wood open shelves and lots of pottery!

The full picture looking at our custom nook.
The pendant fixture you see hanging above the sink is a collaborative effort between my husband and I. He hand built it with clay, utilizing a black glaze and I pieced it together to the fixture that you see. And check out that awesome Brizo faucet from Ferguson Showroom. It’s the perfect amount of black and brass that is carried throughout the kitchen.
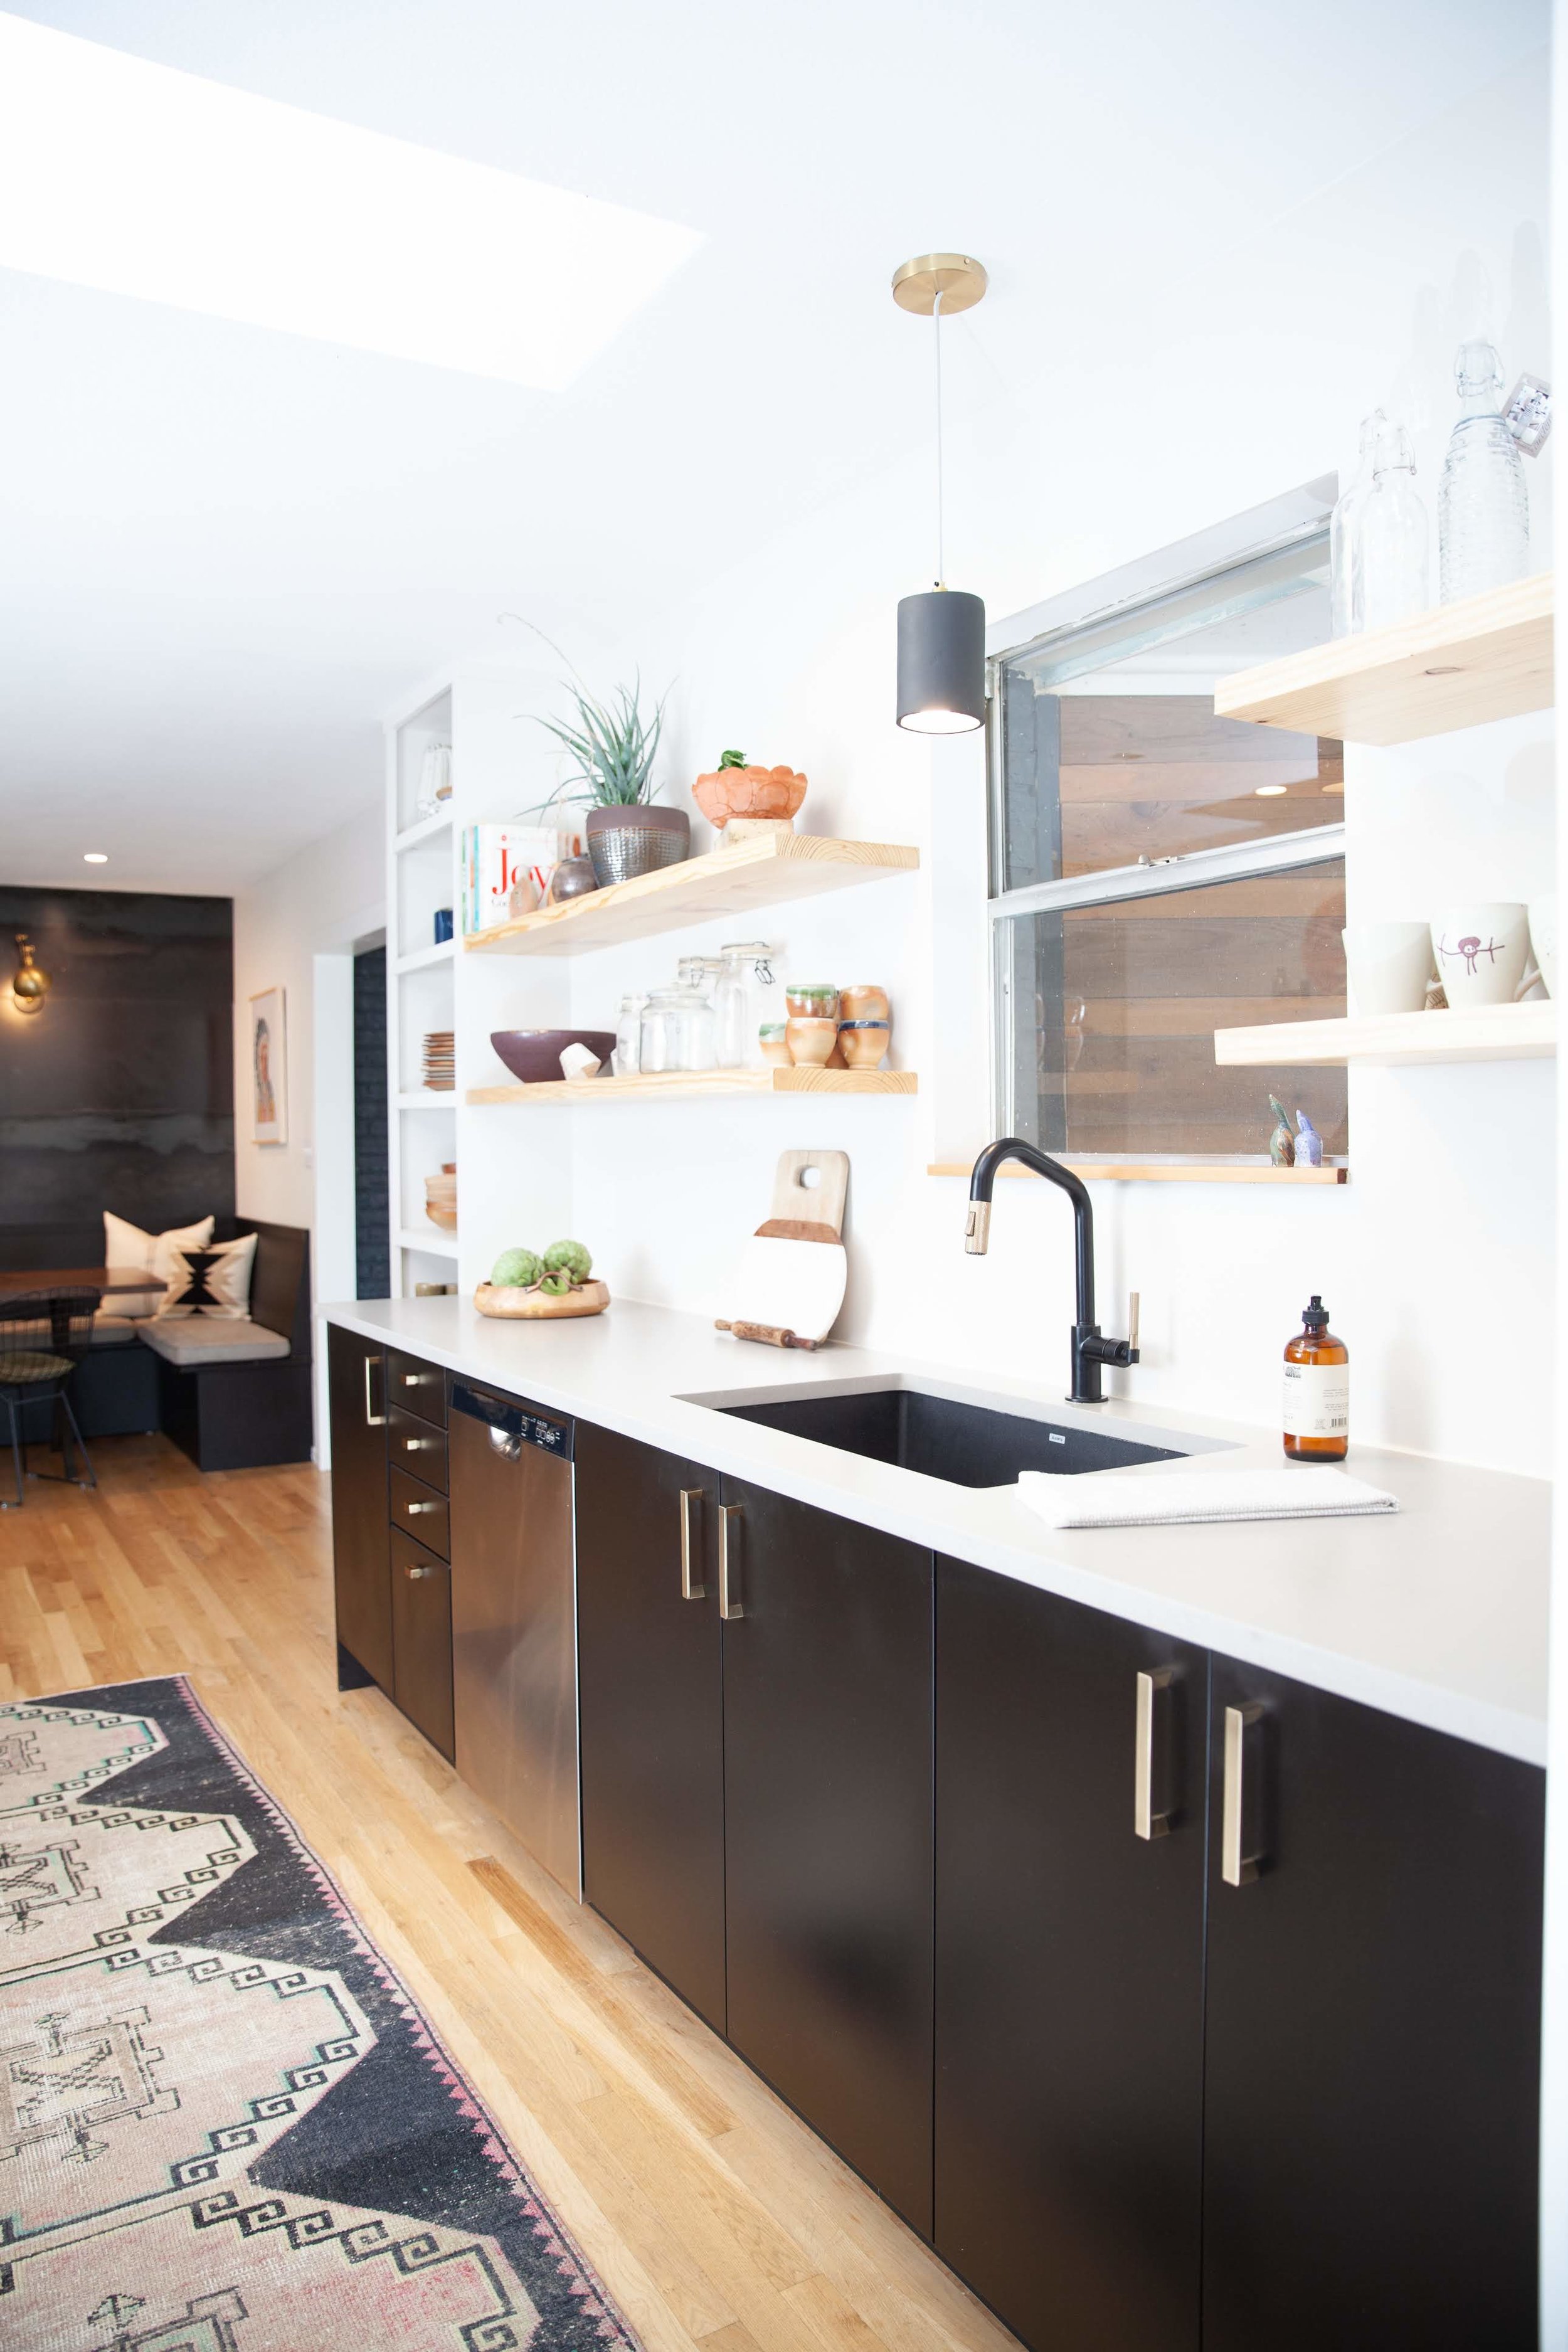
I am lucky enough to be related to potters. I have lots of beautiful, handmade pottery that is not only gorgeous but also totally functional. This needs to be on display. One of the reasons we went with a tall “bookshelf” on the side of our kitchen was so that our kiddos can reach glasses, bowls and whatever they need so they can be self-sufficient in the kitchen too. They also have no excuse not to help unload the dishwasher, an added bonus!

Lots of open shelves both functional and decorative!
This nook is my happy place. It was such a wonderful addition to our kitchen. This is where life happens for us. The back wall is sheets of steel, which adds a really interesting backdrop to the nook. The steel is, obviously, magnetic and is typically filled with our kiddos’ art creations and lit by the custom wall sconces made by yours truly.

Our nook!!
When we pushed back the two closets from the master bedroom, there was a small recess in the wall, which we utilized as a bookshelf. This bookshelf allows us to add so much interest to our nook through artwork and books.

Bookshelf in nook.
Well that about sums it up! It was a lot of work but it has been so worth it. Next up on the house is our studio. I’d say it is about 80% complete, so you should be seeing it here very soon! I can’t wait to share that project with you, as it is very special to me.
Thank you so much for reading and as always…
Stay True!
Allyson

Big table, Big ideas
Tis the season for family, joy and if you’re us, projects! My husband and I are doers. We always have a list of projects in our queue and having a little bit of time off from work allows us to tackle a few of these. Our current “big” project at our house is our studio remodel. The current state is studs and raw concrete. We are hoping to stain and seal the concrete in the coming week and throw up a wall. That will make us feel like we are making some progress! So in the spirit of getting sh!t done, here is a mini project we worked on for one of our clients to inspire all you doers out there!
The dilemma……
Our clients needed a table that would be big enough for meetings, social gatherings and the occasional rap session. The problem is that tables of that size and caliber can be very expensive. Taking into consideration that our clients were paying for the remodel of the space and the complete furnishings and accessories, we were very budget conscious.
The solution……
I designed a custom table made out of steel table legs and a white oak plywood top. The steel table legs I sourced from a local metal fabricator in San Antonio. I sent over the design for the legs and he was able to fabricate and deliver to me in a just a few weeks, along with a pair of table legs for our personal use as well. Quick learning lesson here. Have your fabricator pre-drill the holes for the fasteners. This ensures a super quick installation. From there, I skipped over to a lumber store and grabbed a 4’x8’ sheet of white oak plywood. I then went through the process of sealing the table. Sand, seal, sand, seal, sand, seal and done!

I love the process of woodworking because it is such a process!
Installation…….
Due to the size, the table was installed in the space. We drilled holes in the flat plate of the table legs and then fastened a 2x4 between the plywood and steel legs. The plywood is only 3/4” thick, so adding the thickness of the 2x4 ensures that the table legs were secure. I also added a 1x4 apron across the front and the back of the table so that the additional 2x4s were not seen and for additional stabitility. If I did this all over again, I would do something a little smaller for the aprons, perhaps a 1x3. Then we flipped it and bam! Awesome gigantic worksurface!
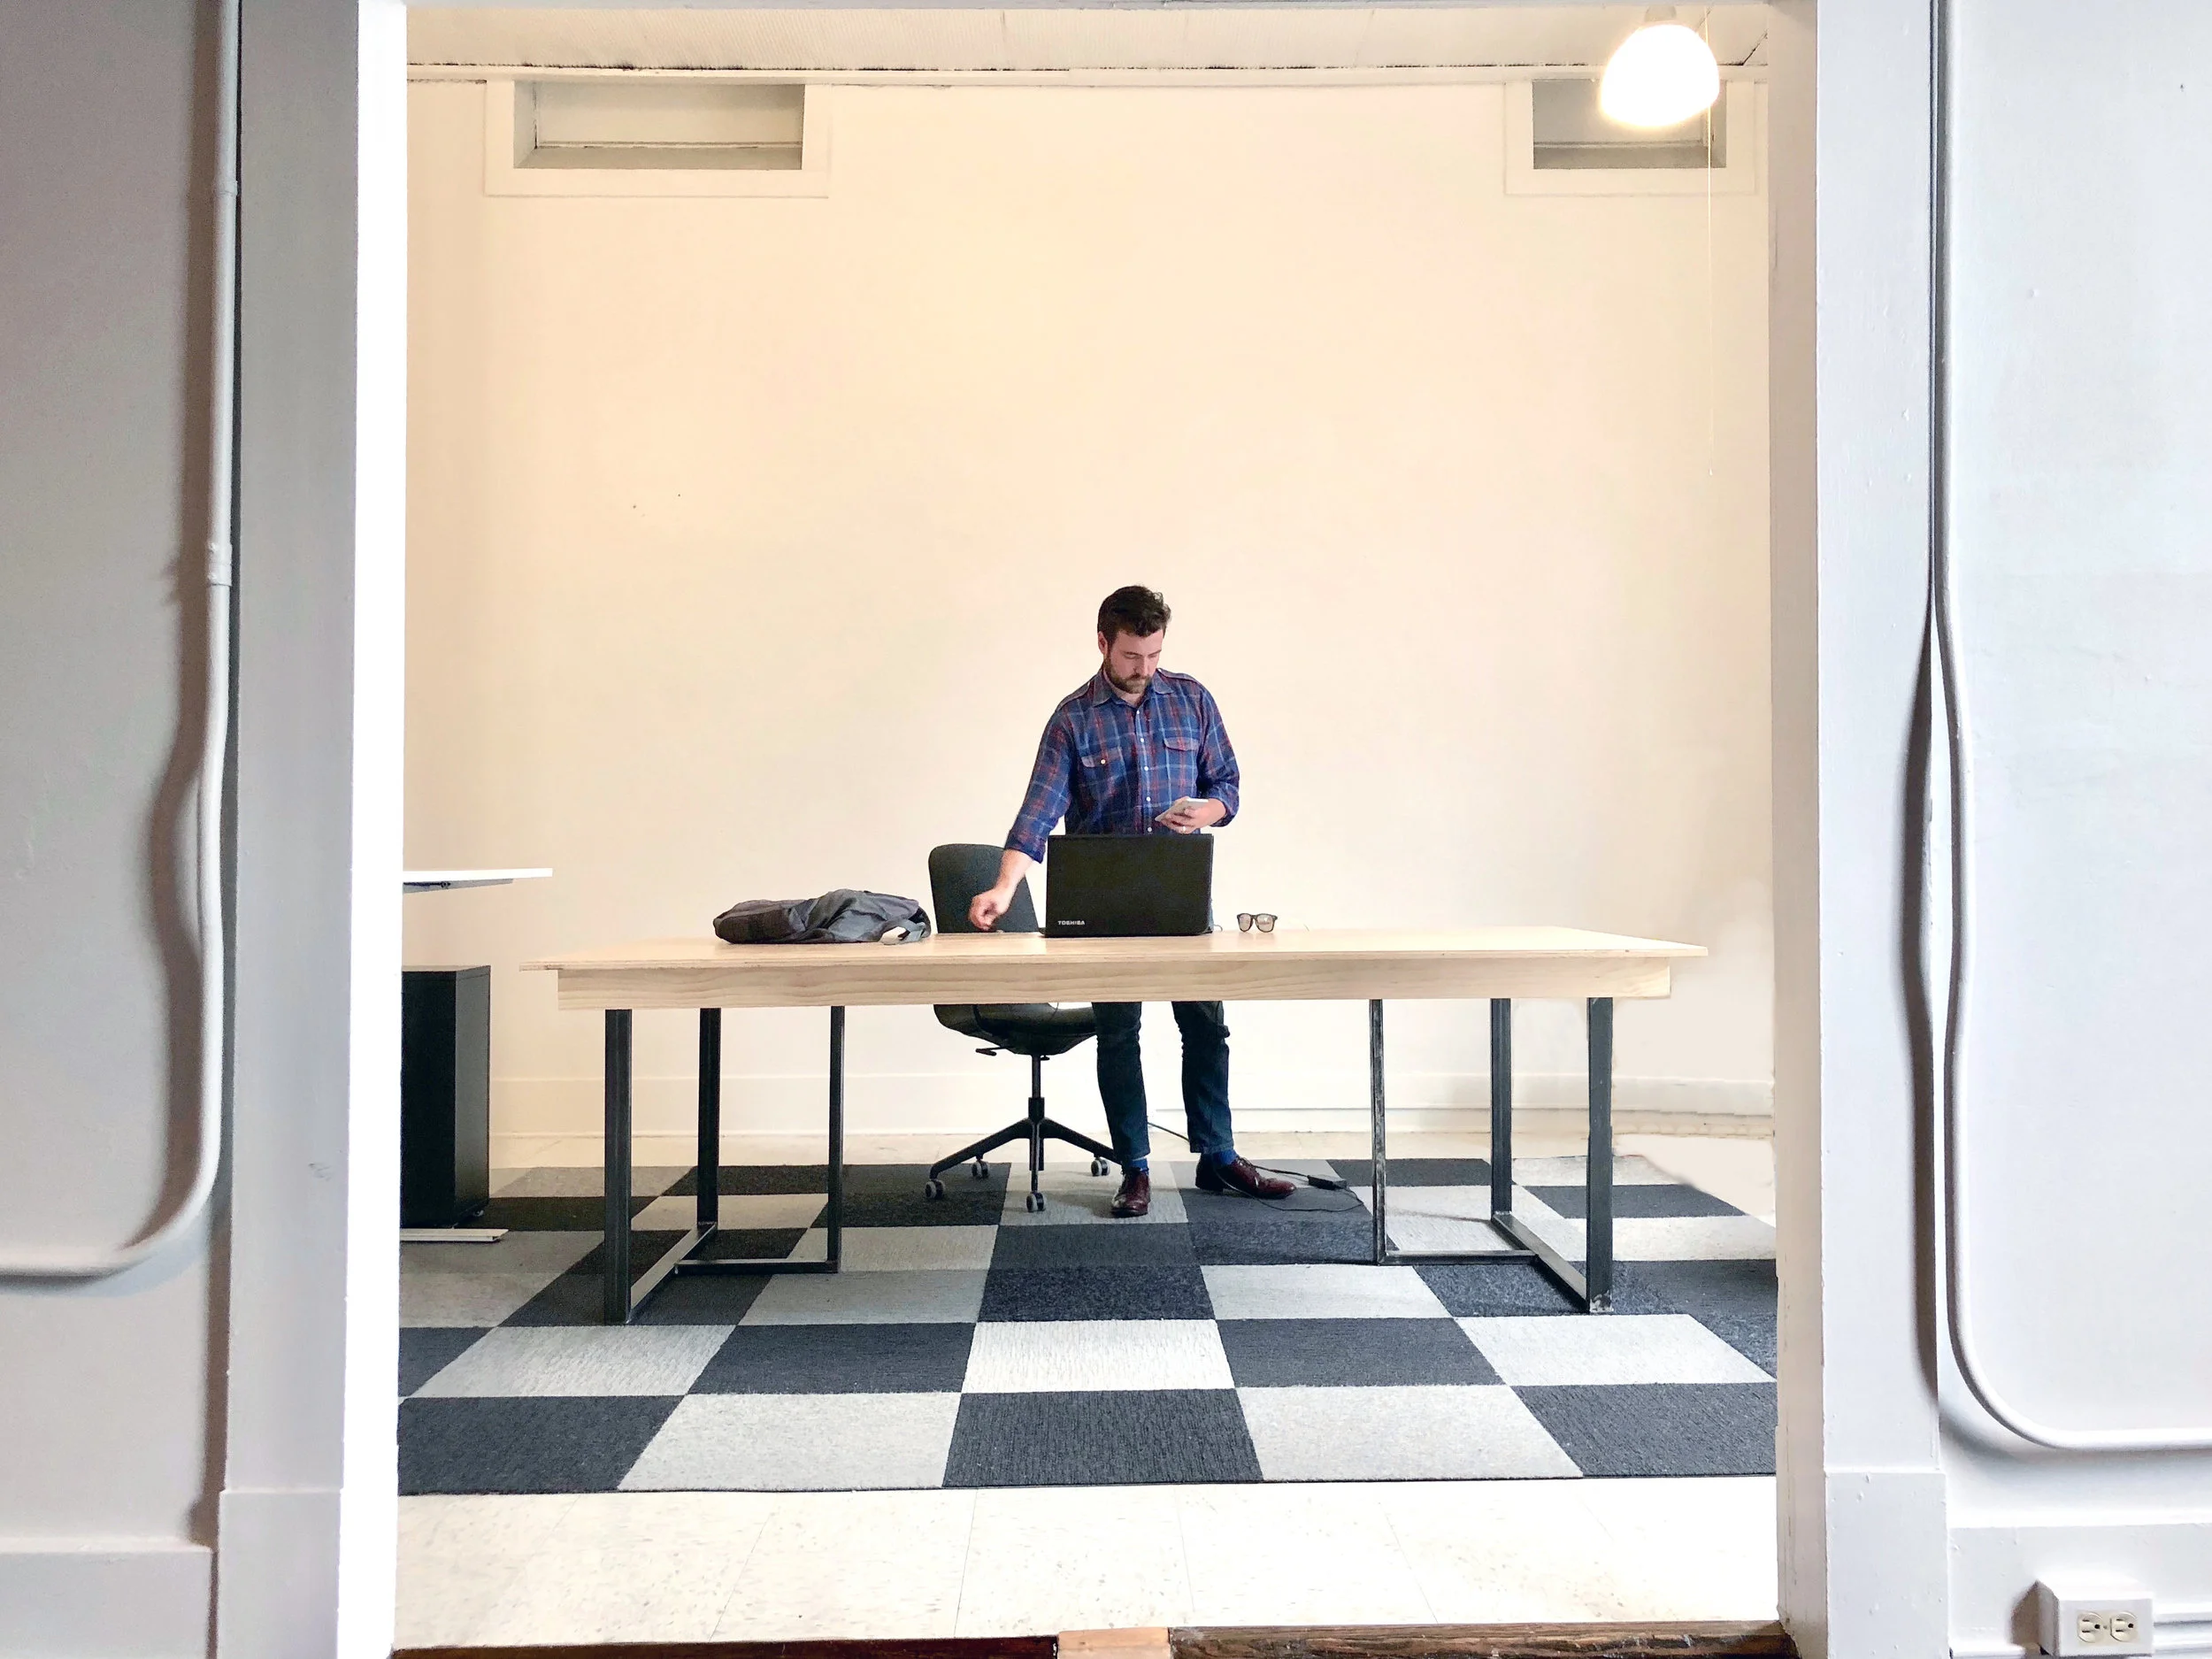
This is a great solution for anyone that needs a big worksurface for a community work table, craft table or maybe even a huge dining room table, depending on your aesthetics. Cost to the end user was under $500. Another bonus for our clients is that those steel legs will last for-ev-er. If they move to a new office space, they can break down their table and resize the table top to something smaller.

I absolutely love how it turned out. And the best part is, the clients love it too! We will be adding a large rectangular grommet in the center of the table. This will offer cord management solutions for computer and table lamp cords.

So here is to all the future rap sessions out there! May they be the makings of our future!
Stay True and Happy Holidays!
Allyson